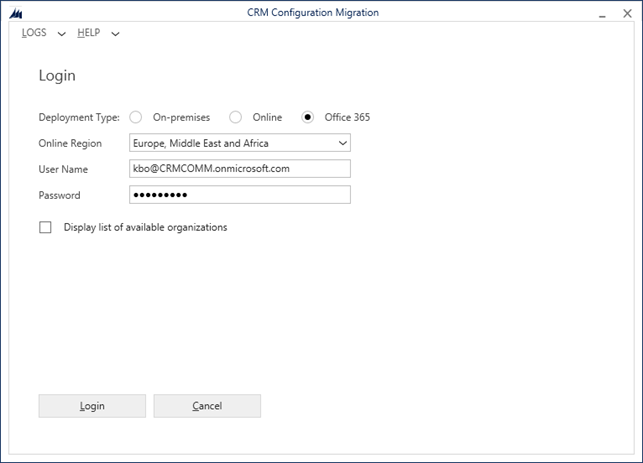
The spring 14 update of the CRM 2013 SDK (Leo) comes with a number of new tools, including a new deployment framework. The short version is that it allows you to build a deployment package in Visual Studio (with customizations, data and custom code steps) and deploy the package to CRM with a visual tool or even better: With PowerShell.
This post is about creating the deployment packages with Visual Studio. I will write a post on how to deploy the package later on.
What can it do?
With the new Visual Studio template, you can create packages that will let you:
- Deploy CRM Solutions
- Deploy data packages created with Configuration Manager
- Deploy data in CSV or XML file formats with CRM Map files
- Execute custom code (.net) during deployment process
- Display information to the user before and after the deployment process in HTML format
Getting started
Before you start building your deployment package, you need to install a new Visual Studio template.
Download the SDK and run \SDK\Templates\CRMSDKTemplates.vsix
Now you are ready to start Visual Studio. Do so and create a new project of type CRM SDK Templates\CRM Package.
The project structure
The project tree includes a number of interesting elements that we need to know how to use. I have “highlighted” the most interesting below:
The PkgFolder is where you place you content: CRM solution files, Configuration Manager zip files and xml/csv files.
The two default.htm files are where you can edit the message shown to the user before and after deployment.
ImportConfig.xml is where you configure what should happen during deployment (what solutions to import, what data files etc)
The PackageTemplate.cs is where you can hook up you own custom code.
PkgFolder
When you want to add content to this folder you should copy you files to its root. Not to the Content folder, but directly in the PkgFolder. After adding files (say a CRM solution file) you need to right click it, choose Properties and then set Copy to Output Directory to Copy Always.
The files you add to you PkgFolder also need to be added to the ImportConfig.xml file (see below). Be aware that while you can add as many Configuration Manager zip files to the folder as you wish, you can only configure one for import in the ImportConfig.xml file.
Default.htm
These files can be edited with whatever information you like to you user. If you import you package with PowerShell it looks like they are ignored all together.
ImportConfig.xml
Edit this file to specify the steps of the deployment procedure. Fresh from start the file looks like this:
<?xmlversion="1.0"encoding="utf-16"?>

<configdatastoragexmlns:xsi="http://www.w3.org/2001/XMLSchema-instance"xmlns:xsd="http://www.w3.org/2001/XMLSchema"

installsampledata="false"

waitforsampledatatoinstall="true"

agentdesktopzipfile=""

agentdesktopexename=""

crmmigdataimportfile="">

<solutions>

<configsolutionfilesolutionpackagefilename="solutionFile.zip" />

</solutions>

<filestoimport>

<configimportfilefilename="File.csv"filetype="CSV"associatedmap=""importtoentity="FileEntity"datadelimiter=""fielddelimiter="comma"enableduplicatedetection="true"isfirstrowheader="true"isrecordownerateam="false"owneruser=""waitforimporttocomplete="true"/>

<configimportfilefilename="File.zip"filetype="ZIP"associatedmap="ZipFileMap"importtoentity="FileEntity"datadelimiter=""fielddelimiter="comma"enableduplicatedetection="true"isfirstrowheader="true"isrecordownerateam="false"owneruser=""waitforimporttocomplete="true"/>

<zipimportdetails>

<zipimportdetailfilename="subfile1.csv"filetype="csv"importtoentity="account" />

<zipimportdetailfilename="subfile2.txt"filetype="csv"importtoentity="contact" />

</zipimportdetails>

</filestoimport>

<filesmapstoimport>

<configimportmapfilefilename="FileMap.xml" />

<configimportmapfilefilename="ZipFileMap.xml" />

</filesmapstoimport>

</configdatastorage>
But after I edited it to fit my simple needs (a CRM solution, some data from Config manager and a little custom code) it looked remarkably simpler:
<?xmlversion="1.0"encoding="utf-16"?>

<configdatastoragexmlns:xsi="http://www.w3.org/2001/XMLSchema-instance"xmlns:xsd="http://www.w3.org/2001/XMLSchema"

installsampledata="false"

waitforsampledatatoinstall="true"

agentdesktopzipfile=""

agentdesktopexename=""

crmmigdataimportfile="data.zip">

<solutions>

<configsolutionfilesolutionpackagefilename="MyFavoriteSolution_1_0_0_0.zip" />

</solutions>

</configdatastorage>
The key elements are crmmigdataimportfile attribute where you specify the Configuration Manager zip file (data) to import and the <solutions> element where you specify the CRM solution files to import.
All the FilesToImport stuff is related to importing csv or xml files during import. I haven’t really tried yet, but I might post an update about that once.
PackageTemplate.cs
This is where you can write you own cod that gets executed during the deployment process at various stages.
As far as I can tell you have three hooks:
- BeforeImportStage
- RunSolutionUpgradeMigrationStep
- AfterPrimaryImport
So you can execute code before it all begins, when a solution is upgrated or after the import of solutions (and data? I’m not sure yet) is completed.
An example:
public override bool BeforeImportStage()
{
   CrmSvc.OrganizationServiceProxy.Create(newEntity("lead"));
   return true;
}
It might not be very useful, but the code will create an empty lead before importing solutions and data. The point is that you have a hook to the CRM OrganizationService, so you can do all you CRM manipulations. Remove a field that is no longer used for example.
Deploying the package
Once you have built you package you can deploy it to you CRM system. There are two options: A windows client or PowerShell.
My next blog post will be about deploying CRM Deployment Packages with PowerShell.
Conclusion
This looks promising. Obviously, we haven’t used this on real projects (the tools are less than a week old) but as far as I can tell this will be the default choice for deploying CRM solutions in the future. The ability to bundle together customizations and data, and to manipulate the system with code is awesome. +1 for the CRM SDK team at Microsoft :)


